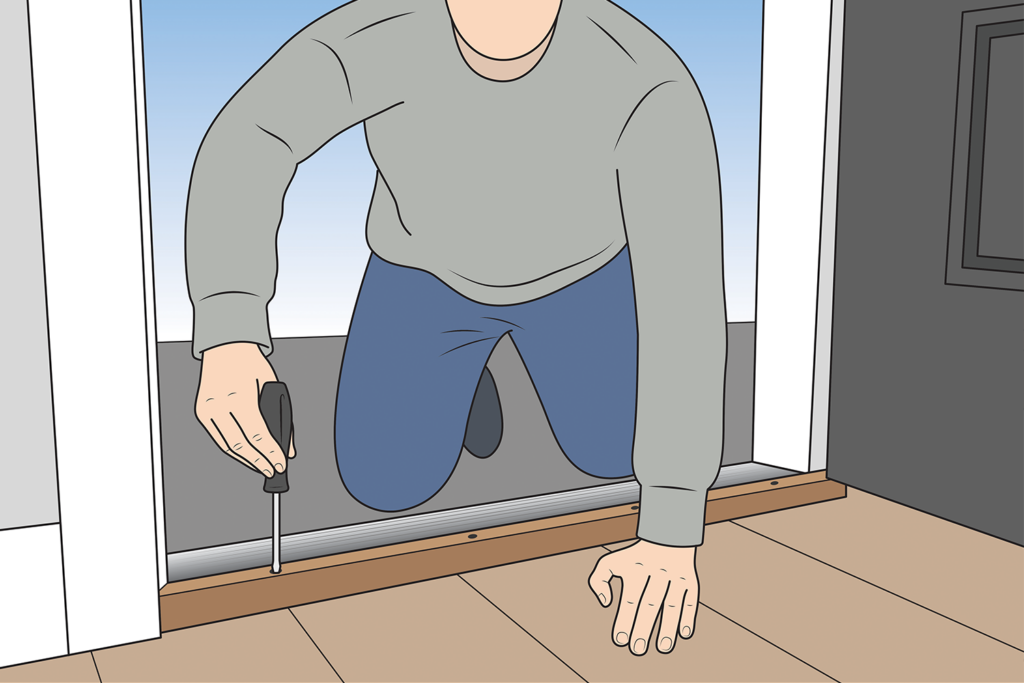
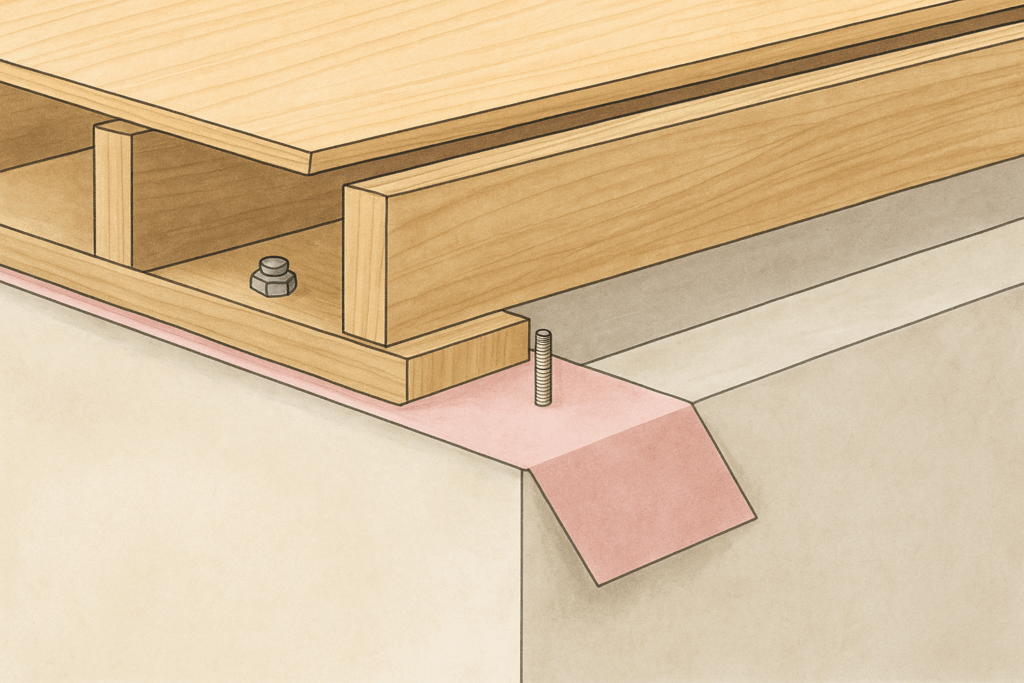
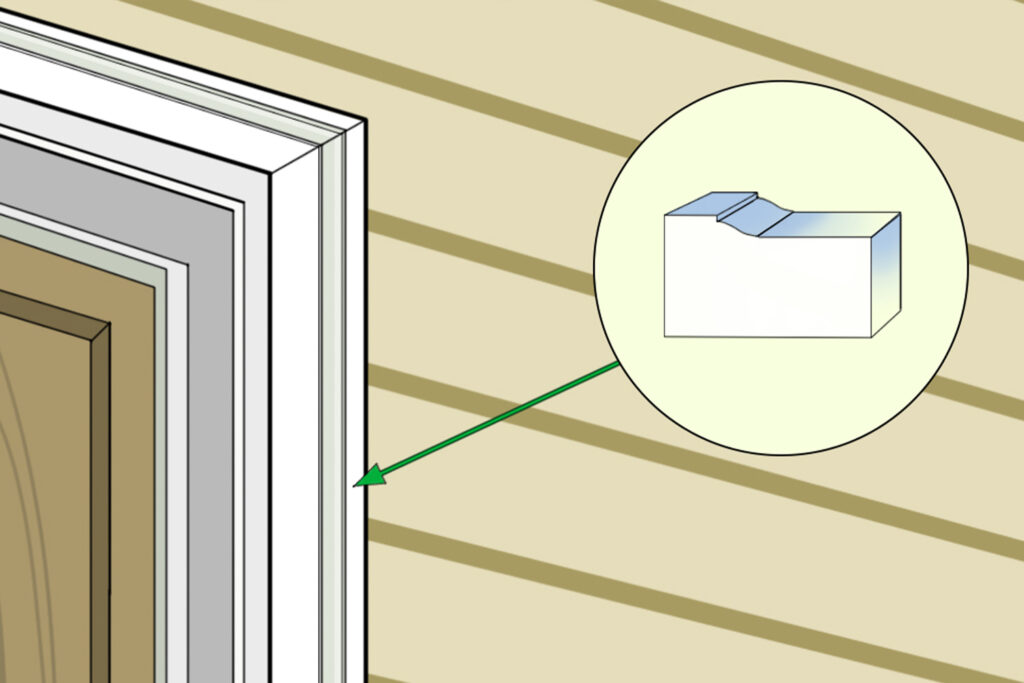
Understanding the proper way to connect a ledger board to the house is essential for building a safe and sturdy ledger deck.
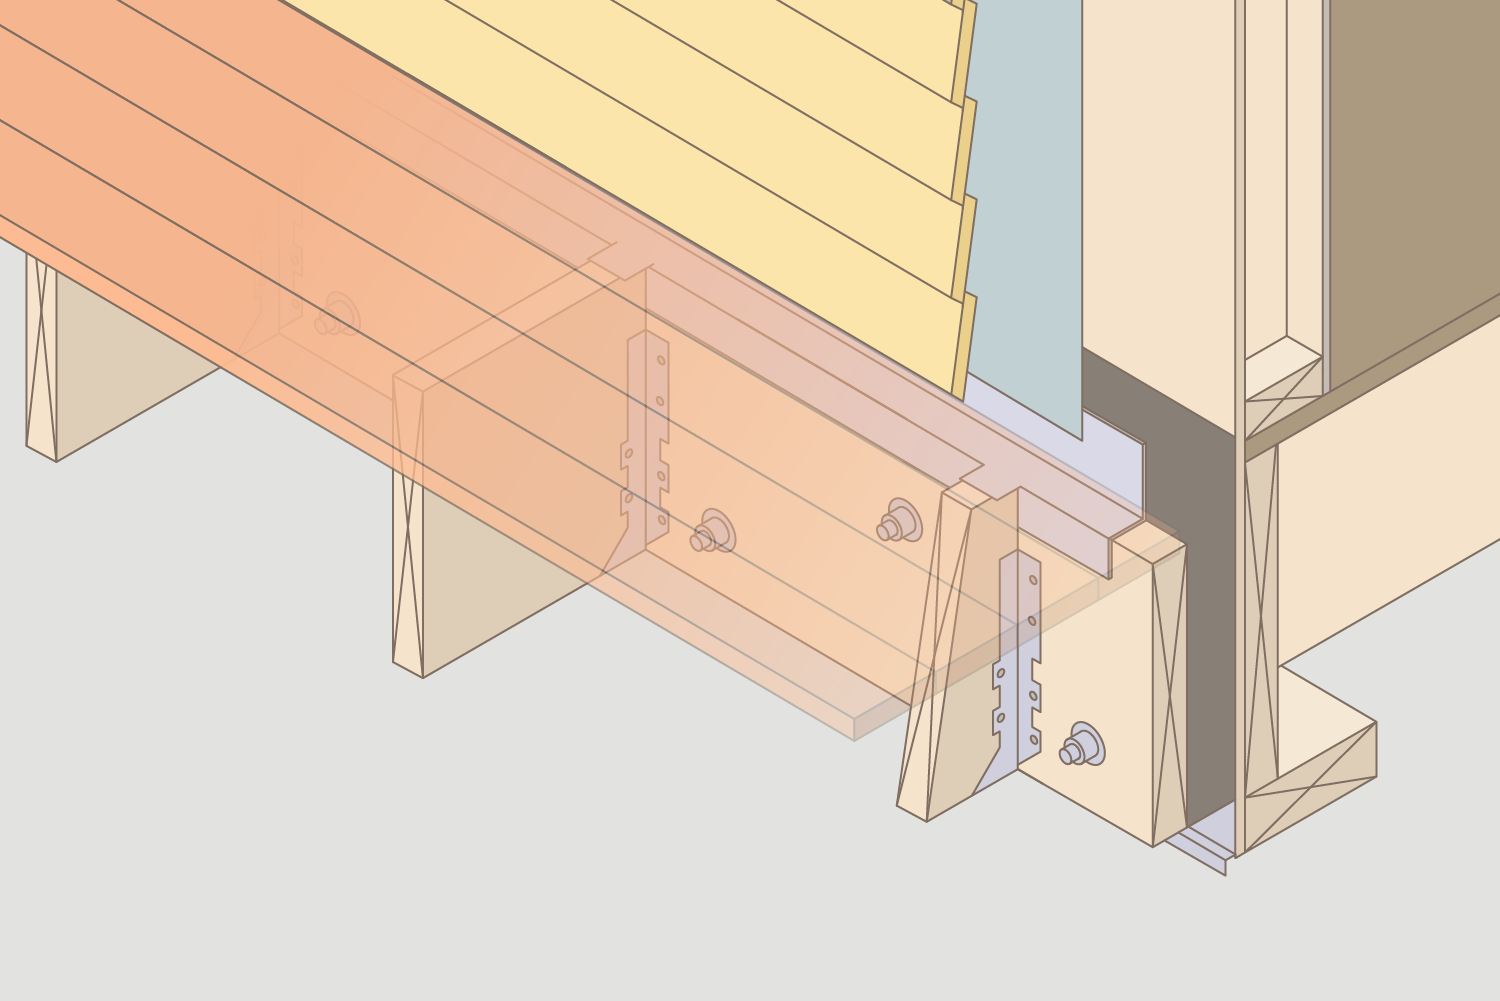
Here’s an explanation of each of the items noted in the drawing:
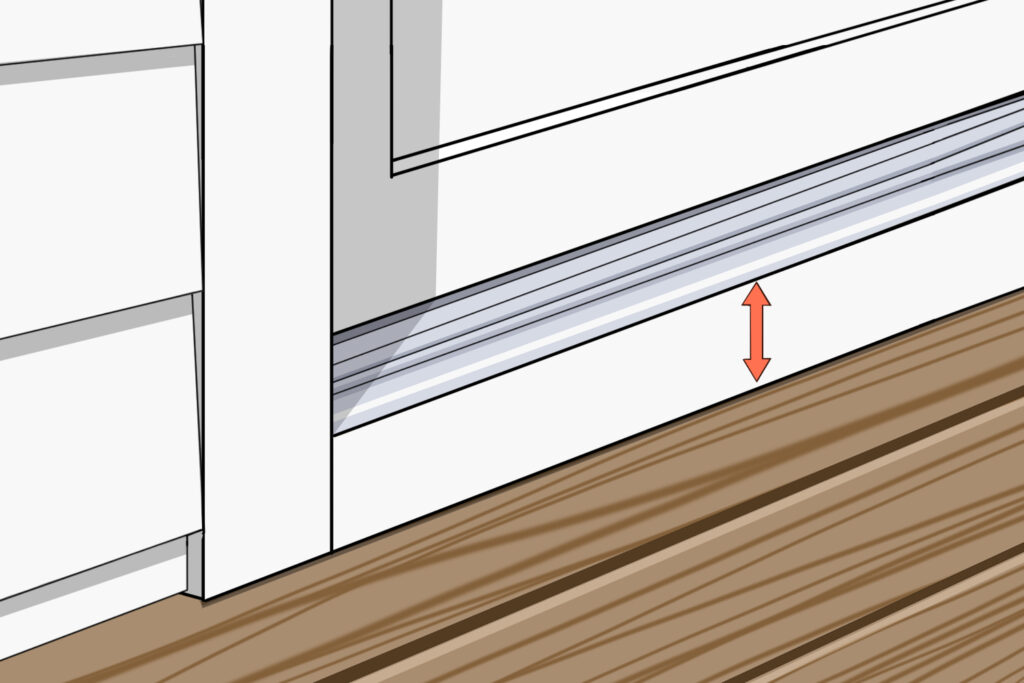
1/ Step down from the finished floor/door height:
This refers to the difference in height between the finished floor level of the house and the level of the deck. It’s important to ensure that the deck is at an appropriate height in relation to the house floor and door levels for easy access. Around a 2” drop from the door sill to the top of the deck will help with water and splash back from the deck surface.
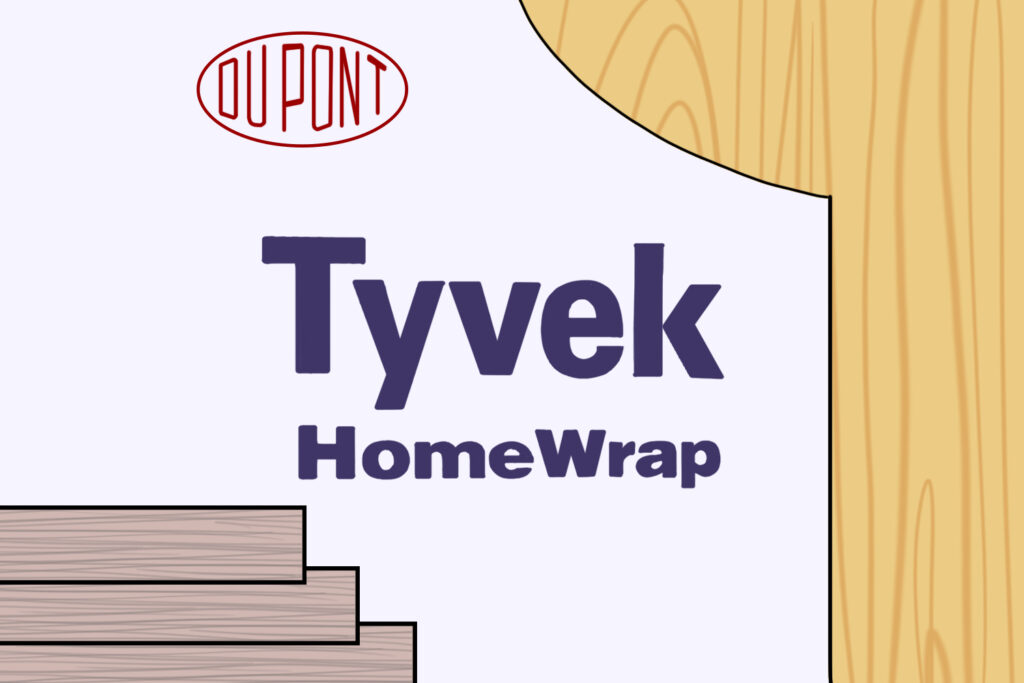
2/ Ledger Flashing:
This is a waterproofing flashing layer installed between the ledger board and the house band board to prevent water from seeping into the house. It’s typically made of a flexible material like vinyl, asphalt or rubber.
3/ Metal Z flashing:
Z flashing is a piece of metal flashing shaped like the letter “Z” that is installed over the top of the ledger board and under the siding of the house. It helps to direct water away from the house and prevents it from seeping behind the ledger board, which can cause rot and water damage.
4/ Ledger board:
The ledger is a horizontal board that is attached to the house and supports one side of the deck. It’s usually bolted directly to the house’s band board.
5/ Attachment Fasteners:
These are the bolts used to secure the ledger to the house band. They are typically made of corrosion-resistant material like stainless steel and are spaced at regular intervals along the length of the ledger.
6/ Joist hangers:
Joist hangers are metal brackets used to attach the deck joists to the ledger board. They are typically installed with nails or screws and provide a strong connection between the joists and the ledger.
These components are all important for ensuring that the deck is properly attached to the house and that water is effectively diverted away from the house to prevent damage.